Remotely Managing Windows 2008 Server Core Firewall
Remotely Managing Windows 2008 Server Core Firewall
As you already know by now, in Windows Server 2008, Server Core installation does not include the traditional full graphical user interface (GUI). Therefore, once you have configured the server, you can only manage it locally at a command prompt, or remotely using a Terminal Server connection. A third management option is to manage the server remotely using the Microsoft Management Console (MMC) or command-line tools that support remote use.
Read more about Server Core on my "Windows Server 2008 Server Core" article.
One of the major pains of managing such a GUI-stripped installation is the configuration of the Windows Advanced Firewall settings. Without properly configuring these rules, you will find it extremely difficult to remotely manage your server.
In this article, I assume that you have already configured your server core with the bare minimum requirements to operate in a network. These requirements are:
- Configuring an IP address
- Configuring a server name
- Configuring an administrator's password
You should, but are not required to, also join the server to your domain.
Next, in order to properly configure Server Core to allow you to control its Firewall settings remotely, via GUI, follow these steps:
Step #1: Enable remote management through the firewall
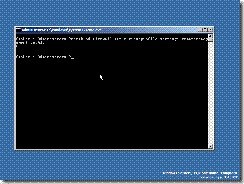
On your Server Core machine, at a command prompt, type the following:
| netsh advfirewall set currentprofile settings remotemanagement enable |
This will allow you to control the Firewall's settings from a remote MMC snap-in.
You can always run the following command in order to disable this option:
| netsh advfirewall set currentprofile settings remotemanagement disable |
Step #2: Open the Windows Firewall snap-in
- On a remote computer running Windows Server 2008 or Windows Vista, click Start > Run, then type MMC and press ENTER.
- Click File > Add/Remove Snap-in.
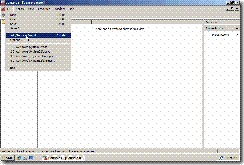
- In the Add or remove snap-ins, scroll down till you find the Windows Firewall with advanced security snap-in.
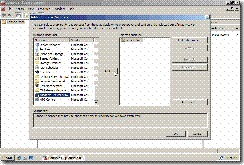
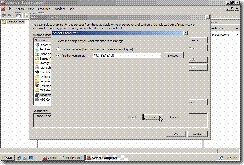
- Click Add, then in Another Computer, type the name or IP Address of the Server Core server you want to manage.
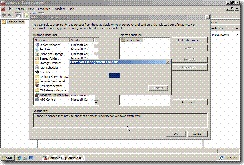
- After a short loading, if all is ok, you will be presented with the management GUI of the remote server.
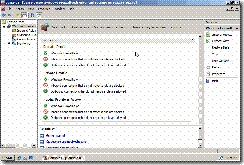
- You can now create new Firewall rules, enable or disable existing rules, export your settings or disable the Firewall altogether.
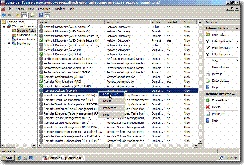
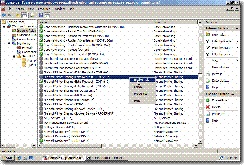
For example, to enable the rule allowing Remote Desktop connections to the Server Core, go to Inbound Rules. In the results pane scroll down till you find Remote Desktop (Tcp-in), right-click it and choose Enable.
Another example would be to enable ICMP Echo Replies (or simply put – Ping replies) from the Server Core server, allowing the administrators to test for connectivity issues with the server. To enable the rule allowing ICMP Echo Replies from the Server Core, go to Inbound Rules. In the results pane scroll down till you find File and Printer Sharing (Echo Request – ICMPv4-In), right-click it and choose Enable.
Pings to the Server Core server should now work.
You can save the current MMC window for future use. As long as you do not change the settings on step #1, or change the server's IP Address (if you've used an IP Address to connect to it in the first place), it should continue working for as long as you want.
Summary
Running Server Core requires manual control of many settings, and without proper Firewall configuration you may find it hard to remotely connect to it. This article showed you how to configure the Server Core server in order to remotely connect and configure the Windows firewall component.


1 comment:
This web page is an exact copy of the www.petri.co.il website and in violation of the DMCA (Digital Millennium Copyright Act).
Please respond within 24 hours that you have removed all copied Petri website pages or I will be forced to contact your ISP and have them removed.
Thank you,
Petri Knowledegbase Administrator
Post a Comment